The Drop · July 30, 2026
Audio reactive virtual background: a music visualizer behind your camera
Your camera currently sees a wall, a shelf, or a door somebody is going to walk through. A clip built out of your own track can sit there instead, and it takes about ten minutes to set up.
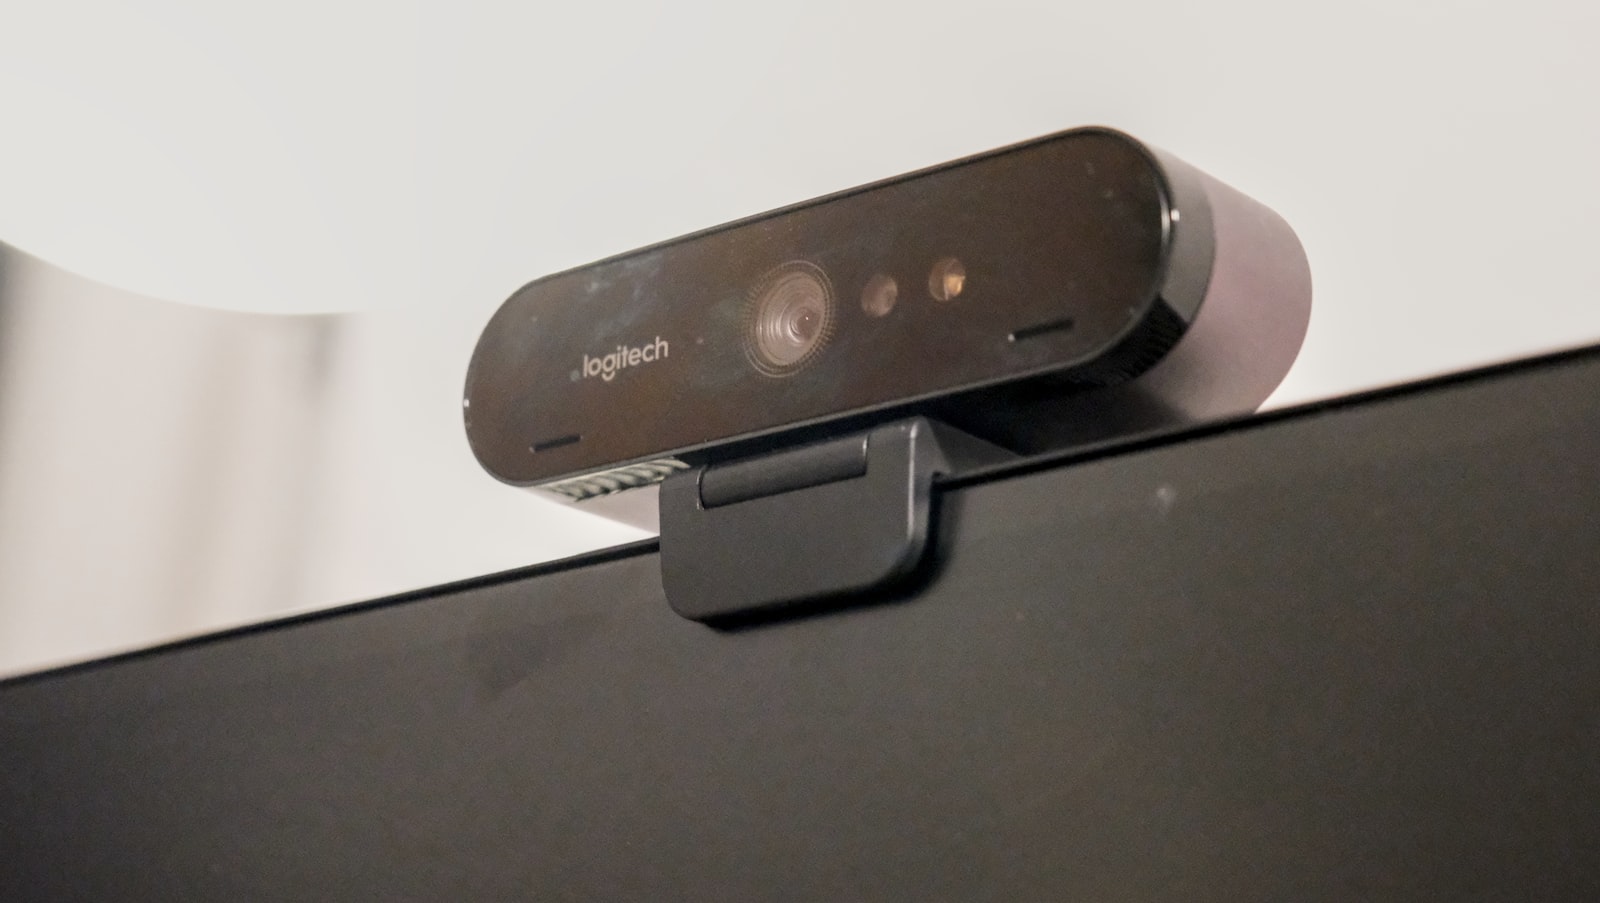
Photo via Unsplash
Look up virtual backgrounds and you get beaches, bookshelves and a handful of looping stock clips that everyone on the call has already seen. If you make music, you have a better option sitting in your renders folder: a 1080p clip cut from your own track, moving on your own drums. Getting it behind you comes down to two routes. One makes your call software think a video app is a webcam. The other hands the file straight to the meeting app.
Sort out what you actually mean by audio reactive
Two different things get called an audio reactive virtual background, and only one of them is easy.
The common version is a loop that was built from audio earlier and now plays behind you. Every cut in it landed on a real beat, so it reads as reactive to everyone watching, but the file itself is fixed. The other version reacts live, in the moment, to something playing right now. Nothing in Zoom, Teams or Meet does that for you, because those apps only ever accept a file or a camera feed. If you want live reaction you have to build it yourself, which is route one below.
Route one: OBS becomes your camera
OBS Studio has a Virtual Camera built in. The project's own guide describes it as a feature "that allows you to share your OBS Studio scene with any applications that can make use of a webcam", and names Zoom, Skype and Discord as examples. You click Start Virtual Camera in the Controls dock, then open your call app's video settings and choose OBS Virtual Camera from the camera list. That is the whole handshake.
The scene behind it is two layers:
- A Media Source pointing at your rendered visualizer clip, with looping switched on so it never runs out mid meeting.
- Your camera on top of it, scaled down into a corner.
Corner cam is the layout worth defaulting to. Floating your cut out silhouette over the visuals sounds better than it looks, and it is the expensive part: OBS ships a Chroma Key filter, documented as color removal for green screens, so it works if you have a green sheet hanging behind you. There is no background removal in the filters OBS ships with, so without the green screen you are installing a third party plugin to get the same effect.
One gotcha from OBS's own troubleshooting page: it recommends Chromium based browsers such as Chrome or Edge for best compatibility, especially for online services like Discord. If your meeting runs in a browser tab and the camera list refuses to show OBS Virtual Camera, that is the first thing to change. The page carries separate sections for Windows, macOS and Linux, so check the one that matches your machine before you start hunting for other causes.
If the target is a Twitch or YouTube stream rather than a call, the same scene works and the stream visuals post goes deeper on the OBS side of it.
Route two: hand the file to Zoom
Zoom is the one big meeting app that will take a video background as a straight upload, and it publishes the rules. Its help documentation asks for an MP4 or MOV file with a minimum resolution of 480 by 360 and a maximum of 1920 by 1080. The visualizer renders at exactly 1920 by 1080, which is the ceiling rather than a problem, so nothing needs resizing.
The one conversion you do need is the container. Output here is WebM, which is not on Zoom's list, so run it through ffmpeg first:
ffmpeg -i in.webm -c:v libx264 -crf 18 out.mp4
The WebM and MP4 post explains what that line is actually doing if you want the detail. Cut the clip short while you are in there: ten to twenty seconds that loops cleanly beats a three minute render.
Microsoft Teams does not offer the same route. Its support page says an uploaded custom background needs to be a .JPG, .PNG or .BMP file, which rules out video entirely, so Teams means route one. Treat the virtual camera as the method that works everywhere and the Zoom upload as the shortcut when Zoom is where you live.
Settings for a meeting, not a rave
This is the part people skip and then wonder why colleagues are squinting. The defaults in a music visualizer are built to slam. A background sits in someone's peripheral vision for forty minutes, which is a completely different job. Four changes cover it:
- Persistent flicker to zero. The opacity dial runs 0 to 100 and 0 turns it off. Nothing about a call is improved by hard white and black phases behind your head.
- Slow the content rate. Set changes to every 4 beats. The eighth beat setting exists, it is labelled unhinged, and it is not for a standup.
- Leave the text box empty. No text at all is a supported state, and it is the right one here. Nobody needs your hook rotating behind your ear.
- Use shapes rather than images. Rings, stripes, dots and checkers read as gentle motion at low contrast. A photo cutting in and out behind a face reads as a glitch in the call.
Palette matters more than usual too. Something dark keeps your face the brightest thing in frame, which is how a webcam picture is supposed to work. The customizing guide walks through where all of these controls live.
What the thing is actually listening to
Worth being straight about this. The visualizer analyses the audio file you load into it. It is not reading your microphone and it is not reading the meeting. So the normal workflow is to render from the track you want, then loop the result.
If you do want genuine live reaction, run the app in its own browser window while the music plays and add that window as a source in OBS instead of a media file. Now the visuals respond to whatever is playing in that window in real time, and the virtual camera carries it into the call. Remember that recording and rendering both happen in real time with the tab in front. A backgrounded browser tab throttles its animation loop to nothing, which is how people end up with a frozen frame set to music.
Do not strobe people who did not sign up for it
A visualizer on your own screen is a choice. A visualizer behind your face on a call is something six other people have to look at whether they want to or not, and one of them may be photosensitive. The accessibility standard is specific: WCAG success criterion 2.3.1 says content should not flash more than three times in any one second period unless the flashes stay under the defined thresholds.
Keeping flicker off and the change rate slow puts you comfortably inside that. If you want the numbers behind the rule, the strobe video post works through them properly.
That is the whole build. Render a clip from a track you like, loop it in OBS or convert it for Zoom, turn the intensity down, and your camera has something behind it that nobody else on the call is using. Start from the visualizer and make the loop first.
Render the loop your camera sits in front of
Load a track, kill the flicker, pick shapes, and render a 1080p clip that moves with the music. Free, no watermark, no signup.
Open the visualizer